
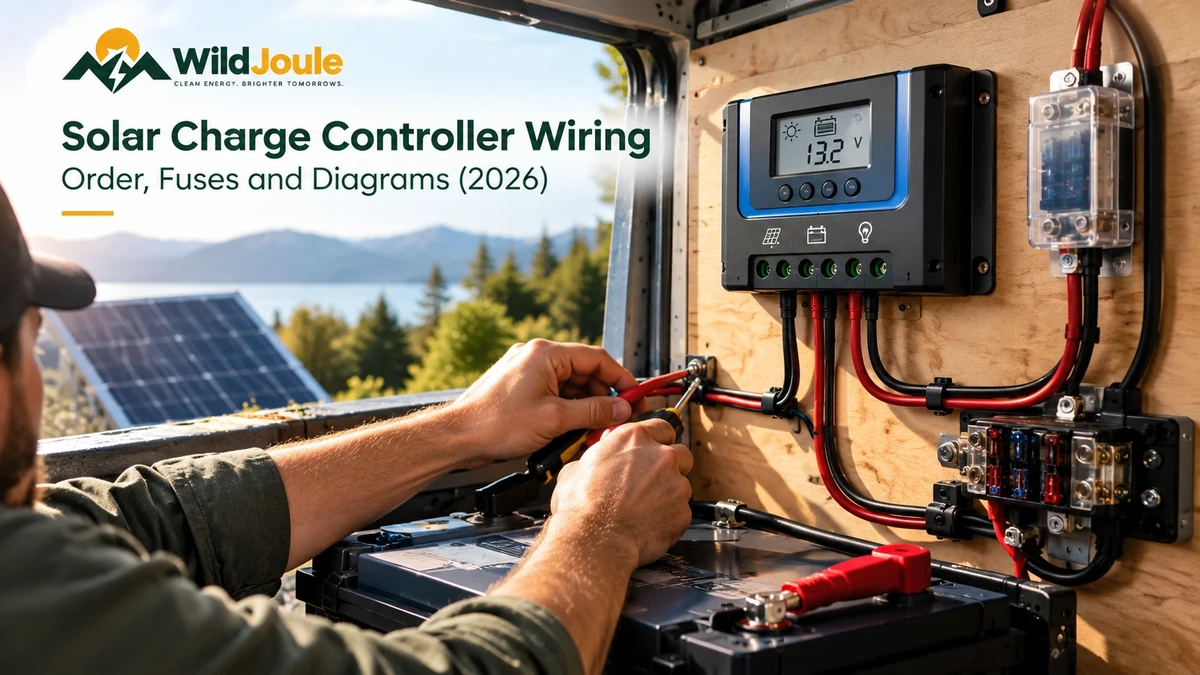
Solar Charge Controller Wiring: Order, Fuses and Diagrams (2026)
Affiliate disclosure: This post contains affiliate links. As an Amazon Associate I earn from qualifying purchases. Product picks were chosen on the merits — no brand pays for placement.
How we evaluated: WildJoule has not installed or bench-tested these controllers. The connection order and fuse guidance below come from Victron’s SmartSolar MPPT manuals and Renogy’s Rover manual. Your controller’s own manual overrides anything here.
Good solar charge controller wiring follows one rule that most mistakes break: connect the battery first and the panels second. Victron’s SmartSolar manuals say to connect the battery, wait about 10 seconds while the controller detects the system voltage, and only then connect the PV. Renogy’s Rover manual gives the same order (battery, then load, then solar) and says to disconnect in reverse. Get that right, fuse the battery cable close to the battery, and size the wire for the current, and the rest is simple.
WildJoule verdict
Battery to controller first, through a fuse mounted within about 300mm (12 in) of the battery positive, as Victron specifies. Then the panels, through a PV breaker or disconnect. Size the battery cable for the controller’s full output current with no more than about 3% voltage drop. Never power an inverter from the controller’s load terminals. Wire it straight to the battery.
Worth saying before the diagrams: I haven’t wired a controller into a roof system of my own, and I won’t pretend otherwise. I read the Victron and Renogy manuals side by side and ran the voltage-drop numbers myself. I wanted this one right because I know what it’s like to depend on power that doesn’t always show up. A solar setup that quietly under-charges because of one thin wire is the same problem in a different form.
Solar charge controller wiring order, step by step
- Cover the panels or leave the PV breaker off. Panels produce voltage the moment light hits them.
- Install the battery fuse on the positive cable, close to the battery, with the fuse removed for now.
- Run the battery cables to the controller’s BATT terminals, positive and negative. If you have a shunt, the negative lands on its load side.
- Insert the battery fuse. The controller powers up. On auto-detect units, give it about 10 seconds to identify 12V or 24V.
- Set the battery type (LiFePO4 or the correct lead-acid profile) before any solar current flows.
- Connect the PV cables to the PV terminals with the breaker off, check polarity with a meter, then close the breaker.
To take it apart, reverse the order: PV off first, battery last. Why it matters: a controller powered from the panels with no battery attached can misread the system voltage. Victron allows PV-first only if the system voltage has already been set manually.
Diagram 1: one panel, one controller, one 12V battery
| Run | From → to | Protection | Notes |
|---|---|---|---|
| PV | Panel MC4 leads → PV breaker → controller PV+ / PV− | DC breaker or disconnect | Lets you kill solar before touching anything |
| Battery | Controller BATT+ → fuse → battery + | Fuse within ~12 in of the battery | Protects the cable if it shorts to chassis |
| Battery negative | Controller BATT− → shunt load side (or battery −) | — | Same gauge as the positive |
| Load terminals | Controller LOAD → small DC loads only | Inline fuse per circuit | Lights, fans, USB. Not an inverter. |
For the MC4 side, crimping your own connectors is cheaper and more reliable than cutting pre-made leads to length; MC4 connectors explained shows how. Battery-side cabling is covered in the battery cable gauge guide.
Diagram 2: two panels into an MPPT controller
With two panels you choose series or parallel before the PV run reaches the controller. Series adds voltage and keeps current the same: two Renogy compact 100W panels, each rated 24.3V open-circuit, become about 48.6V. That means thinner PV cable and better harvest at low light for an MPPT. Parallel adds current and keeps voltage the same: better when one panel is often shaded, but you need heavier cable and, with three or more strings, string fuses.
The hard limit is the controller’s maximum PV voltage. The Victron SmartSolar 100/30 and the Renogy Rover 40A are both 100V-input controllers. Panel voltage rises in the cold, so leave margin: a series string that reads 88V in summer can climb above 100V on a freezing morning and damage the controller. The two-panel wiring guide has the cold-voltage math. A PWM controller can’t use series voltage at all; see MPPT vs PWM.
Fuses and breakers for solar charge controller wiring
Battery fuse. This is the one that matters most. The battery can dump hundreds of amps into a short, and the fuse is what stops the cable from becoming a heating element. Victron says to place it within 300mm of the battery and gives a rating per model in its manuals. Renogy recommends 40–50A for the Rover 40A. Size the fuse to protect the cable, and use a rating at or slightly above the controller’s maximum output.
PV fuse or breaker. Renogy’s formula for the PV side is total PV short-circuit current × 1.56. Renogy’s compact 100W panel lists a 5.21A short-circuit current, so two in parallel give 10.42A × 1.56 ≈ 16.3A, and a 20A DC breaker covers it. The breaker also gives you a clean way to disconnect solar, which you’ll want every time you work on the system.
The DC fuse sizing guide covers fuse types (MRBF, ANL, MIDI) and where each fits.
Wire gauge: the numbers behind “use thick cable”
The battery side carries the controller’s full charge current at low voltage, so that is where voltage drop bites. Worked example for a 40A controller mounted 6 ft from the battery (12 ft of copper, out and back):
| Cable | Resistance (12 ft) | Drop at 40A | As % of 12.8V |
|---|---|---|---|
| 10 AWG | about 0.012 Ω | about 0.48V | about 3.7% |
| 8 AWG | about 0.0075 Ω | about 0.30V | about 2.3% |
| 6 AWG | about 0.0047 Ω | about 0.19V | about 1.5% |
Calculated from standard copper resistance per 1,000 ft; your cable’s ampacity rating and the controller manual still set the minimum. The reason drop matters beyond wasted watts: the controller senses voltage at its own terminals. With 0.5V lost in the cable, it thinks the battery is fuller than it is and drops to float early. That is one of the main causes behind a charge controller showing the wrong voltage.
Five solar charge controller wiring mistakes
- PV connected first. The controller can misdetect 12V vs 24V. Always battery first.
- No battery fuse, or one far from the battery. The unfused length of cable is unprotected.
- Inverter on the load terminals. Load outputs are for small DC circuits; an inverter’s surge current is far beyond them.
- Series string over the PV voltage limit in cold weather. Check cold open-circuit voltage, not just the label.
- Wrong battery profile. A lead-acid profile on LiFePO4 can under-charge or push the BMS into cutoff. See LiFePO4 battery not charging.
If everything is wired and the battery still isn’t charging, charge controller not working is the troubleshooting sequence, and how to size a charge controller checks whether the controller matches the array in the first place.
Controllers and tools for the job
For a 12V system up to roughly 440W of panels, the Victron SmartSolar 100/30 is the premium pick, with Bluetooth set-up that makes the battery-profile step hard to get wrong. Details in the SmartSolar 100/30 review.
The Renogy Rover 40A takes up to 520W on a 12V system (1,040W at 24V) for less money, with an LCD instead of an app unless you add the Bluetooth module. See the Rover 40A review.
And if you’re making your own PV leads, an MC4 crimp kit pays for itself on the first install.
Frequently asked questions
Do you connect the battery or solar panel first?
Battery first. Victron and Renogy both specify it, because the controller needs battery voltage to detect the system voltage and set itself up. Disconnect in reverse: solar first, battery last.
Where does the fuse go between the charge controller and battery?
On the positive cable, as close to the battery as practical. Victron specifies within 300mm (about 12 in). The fuse protects the cable, so it belongs at the source of the fault current, which is the battery.
Can I connect an inverter to the charge controller load output?
No. Load outputs are sized for small DC circuits, and an inverter’s start-up surge is far beyond them. Wire the inverter directly to the battery through its own fuse.
What gauge wire from charge controller to battery?
Enough to carry the controller’s full output with about 3% drop or less. For a 40A controller 6 ft from the battery, 8 AWG gives roughly 2.3% drop; 10 AWG is closer to 3.7%. Check your manual’s cable table for the minimum.
Manufacturer references: Victron SmartSolar MPPT 100/30 & 100/50 manual. For wiring safety in a home or cabin, the NFPA publishes the electrical code most inspectors work from.
Last updated: September 24, 2026. Solar charge controller wiring guidance here is drawn from manufacturer manuals; follow your own controller’s manual where it differs. We do not display live prices.