
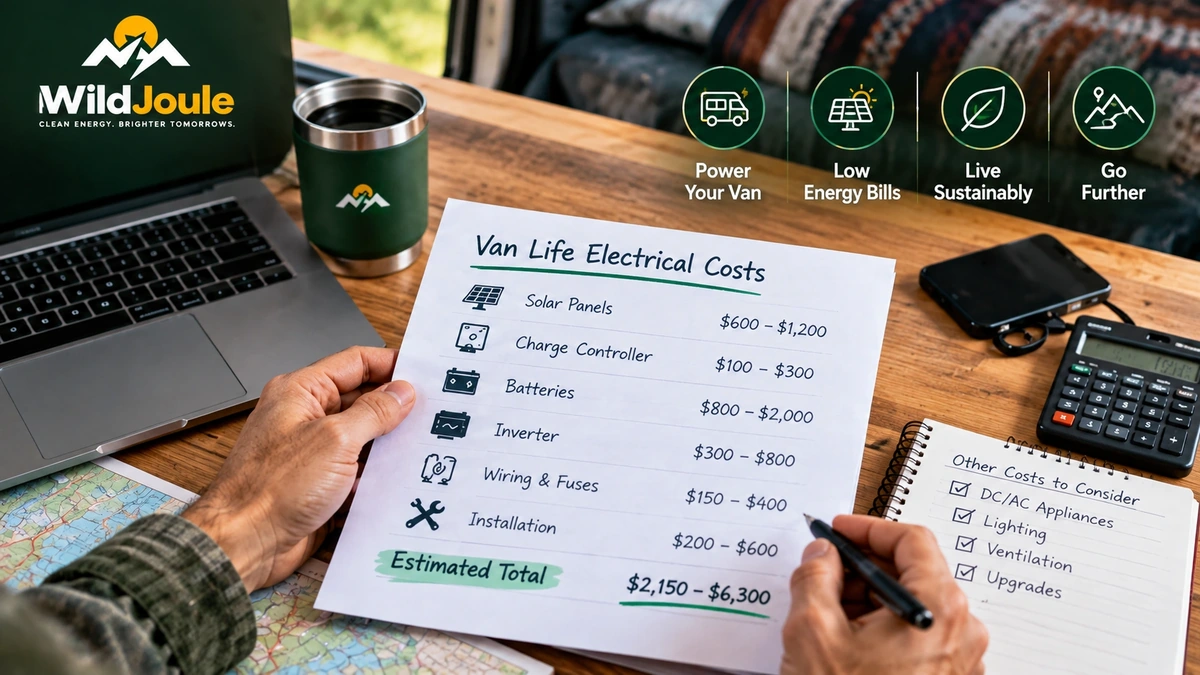
Van Life Electrical Cost: Where the Money Actually Goes (2026)
Affiliate disclosure: This post contains affiliate links. As an Amazon Associate I earn from qualifying purchases. Product picks were chosen on the merits — no brand pays for placement.
How we evaluated: WildJoule has not built this system and does not publish live prices. This guide deliberately works in proportions rather than dollar figures, because component prices move constantly and any number printed here would be wrong within weeks. The ratios are what stay stable.
Almost every guide to van life electrical cost gives you a dollar figure that is out of date before you finish reading it. This one does something more useful: it tells you what share of your budget each part of the system should take, what drives the total up or down, and which line items people consistently get wrong in both directions.
WildJoule verdict
In a balanced 12V build, the battery bank takes 35–45% of the total and everything else divides the rest. If your battery is a much larger share than that, you have probably bought capacity you cannot charge or use. If it is a much smaller share, you have likely underbuilt the one component that is genuinely painful to upgrade later. Capacity is what drives the total — almost every other cost scales off it.
Honesty first, as always here: I have not built a van and I do not own this equipment. What I have done is work through how these systems are actually specified, component by component, and what happens when one part is sized out of step with the others. My interest comes from somewhere real, though — I have spent years where electricity was never a given, and that teaches you quickly which parts of a system are worth paying for.
Van life electrical cost as proportions
| Component group | Typical share | What moves it |
|---|---|---|
| Battery bank | 35–45% | Capacity, brand tier, self-heating |
| Inverter or inverter/charger | 15–20% | Wattage, integrated charging, ecosystem |
| Solar (panels + controller) | 15–20% | Array size, MPPT vs PWM, mounting |
| Wiring, fuses, busbars, tools | 10–15% | Current level, cable runs, what you own |
| Alternator charging (DC-DC) | 5–10% | Charger amps, smart-alternator complexity |
| Monitoring | 3–5% | Shunt quality, display vs app |
Use this as a sanity check rather than a shopping list. Price up the build you want, work out the percentages, and see whether they land near these bands. A build that is 60% battery and 5% wiring is a build that will disappoint you, and the shape of the numbers tells you that before you spend anything.
The three tiers, described by capability
Tier one — the weekender. Roughly 100–200Ah, a modest inverter, 200–400W of solar. This runs a compressor fridge, lights, fans, phone and laptop charging, and a small appliance now and then. It is the cheapest honest system that does not annoy you, and for a huge number of vans it is genuinely enough.
Tier two — the full-timer. Roughly 300–400Ah, a 2,000W-class inverter or inverter/charger, 400–600W of solar, and alternator charging. This is where the van becomes a home and an office. Expect the total to land near double tier one, with the extra split fairly evenly between battery and the charging that fills it.
Tier three — induction and air conditioning. 600Ah or more, a 3,000W inverter, 600W+ of solar and serious alternator charging. Van life electrical cost climbs steeply here, and not mainly because of the battery — it is because everything downstream has to grow to match. Heavier cable, bigger fuses, a larger controller, more roof. The 600Ah battery bank build covers what that actually involves.
What actually drives the total
1. Capacity, above everything else. Doubling the bank does not double the system cost, it roughly increases it by 60–70% once the knock-on effects land. Capacity is the master variable and every other decision follows it.
2. Whether you cook and cool electrically. Induction hobs and air conditioning are the two loads that force tier three. If you cook with gas and skip air conditioning, you can build a genuinely capable van at tier two and spend the difference on the rest of the conversion.
3. Current level, which sets the cable bill. At 12V a 3,000W inverter pulls around 250A, and cable, lugs, fuses and busbars for that current cost multiples of what a 1,000W system needs. This is the invisible cost that surprises people — see the battery cable gauge guide.
4. Brand ecosystem. Committing to a single premium ecosystem buys you shared monitoring and known-good compatibility, at a real premium over mixing value components. Both are defensible; just decide deliberately rather than drifting into it — the trade-off is worked through in best inverter chargers for van life.
5. Whether you already own tools. A first-time builder buying crimpers, a clamp meter and strippers is adding a meaningful percentage to a small build and a trivial one to a large build. The kit is listed in off-grid electrical tools.
Where people overspend and underspend
Overspent, almost always: capacity. Enormous banks bought on the theory that more is safer, then charged by an array that cannot fill them. A 600Ah bank fed by 200W of solar is a 200Ah system that took up more space and money.
Underspent, almost always: charging and wiring. These are the two categories people trim to protect the battery budget, and they are exactly the wrong ones to trim. Undersized charging means you never see full capacity; undersized wiring is a safety problem, not a performance one. Get fuse sizing right before anything else.
Underspent, quietly: monitoring. A shunt is among the cheapest items on the list and it is the one that tells you whether the rest of the system is behaving. Skipping it to save a few percent of the build is a false economy you will feel every week — the options are in best battery monitors and shunts.
The alternative worth pricing first
Before committing to a wired system, price a large portable power station against tier one. An all-in-one unit does the inverting, charging and transfer internally, is warranted as a single product, needs no wiring competence, and can leave the van and back up your house. You pay more per watt-hour and you hit a hard capacity ceiling — but for a weekender build the total van life electrical cost often comes out lower and the labour comes out dramatically lower.
The crossover is somewhere around tier two: above roughly 300Ah of need, a wired bank wins on cost per watt-hour and keeps winning. Below it, the maths is genuinely close. The picks are in best power stations for van life, and the full system walkthrough is in the van life electrical build guide.
For the safety standards a build of any size should follow, the National Fire Protection Association and the American Boat and Yacht Council publish the references professional installers use.
One way to keep the battery line of that budget simple is a single large battery; the LiTime 300Ah review looks at whether 3,840Wh in one case beats wiring three 100Ah units together.
Frequently asked questions
Why does this guide not list dollar figures?
Because they would be wrong quickly and they would be wrong for you specifically. Battery and panel prices move constantly and vary by region and by sale. Proportions and drivers stay stable, and they let you sanity-check whatever the market is charging on the day you buy.
What is the cheapest van life electrical setup that actually works?
A 100–200Ah LiFePO4 bank, a modest pure sine inverter, 200–400W of solar with an MPPT controller, proper cable and fusing, and a shunt monitor. Skip any of those except the inverter and you have a system that will frustrate you; skip the fusing and you have a hazard.
Is it cheaper to build it yourself or pay an installer?
Materially cheaper to do it yourself, provided you buy the tools and take the time to do the crimps and fusing correctly. If you are not confident with high-current DC, paying for the install — or at least a professional inspection before first power-up — is money well spent.
Can I build it in stages to spread the cost?
Yes, and it is a sensible approach — but design the whole system first and buy the wiring and inverter for the final size. Rewiring a van later because you upgraded the bank is the most expensive way to stage a build.
Does going 24V reduce the total?
It reduces the wiring share meaningfully, because halving the current lets you use much smaller cable and fuses. It adds cost back if you need a 24V-to-12V converter for van appliances. At tier three it usually comes out ahead; at tier one it rarely does.
The battery is usually the biggest single line in that budget, and the cheapest mistake to avoid is buying capacity your BMS can’t actually deliver. Our best LiFePO4 batteries for van life picks by build type, from weekender to full electric.
Last updated: September 10, 2026. Proportions are typical planning ranges, not quotations. We do not display live prices.